
I’m going to assume that as a Home Assistant user you care about getting the best discounts and spending your hard-earned money as efficiently as possible. Well, integrating z-wave with your Home Assistant is a perfect way to help reduce your energy costs as a z-wave network uses less power than WiFi does. If you haven’t heard of either z-wave or Home Assistant before I’ll go over a brief introduction to both and then cover how to do the integration.
What is Z-Wave?
Z-wave isn’t a piece of hardware or software, but rather a communication protocol for smart home devices. Due to the way the network is configured, it has lower power requirements than WiFi and has a longer range than Bluetooth. It works by networking an Internet of Things (IoT) through a primary controller (Home Assistant, in our case) that is usually connected to the internet. It operates on a low-frequency band, so it will not interfere with 2.4Ghz or 5Ghz WiFi networks. Its communication range can be up to 328 feet, but it depends on your walls and what building materials they are made from.
What is Home Assistant?
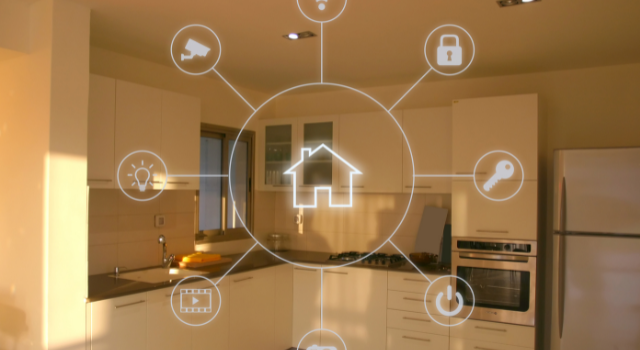
Home Assistant is an open-source home automation software. You can do things like set your lights to turn on/off on a schedule, be notified if your garage door was left open, and stay on top of your home’s energy usage. It integrates with over 1900 smart home devices and is supported by a community of both hobbyists and professionals. The mission of Home Assistant is to make your Smart Home devices work seamlessly for you, not turn your mobile phone into a glorified remote control.
How to Integrate Z-Wave with Home Assistant
There are a couple of prerequisites that you will need to get Z-wave up and running with Home Assistant. You will need: a supported Z-wave controller (the Home Assistant website has a list of recommended ones), a Z-wave JS server, and Z-Wave Integration installed on Home Assistant.
If you don’t have a Z-wave JS server set up, the easiest way to do it is to use the built-in Z-Wave JS add-on in Home Assistant. Otherwise, you can use any Z-wave JS server that you are already familiar with and like. Once you have one up and running you can move on to adding devices to the Z-wave network.
Open up Home Assistant and go to Settings -> Devices & Services. Under the Z-wave integration, click on the cogwheel and then Configure. Select Add Device. The next step depends on if your device supports Smart Start or not. If it does, simply scan the QR code. If not, then you will need to refer to your device’s manual to add it manually. Once the device has been added successfully you will see it listed on screen. If adding it has failed, you will need to cancel the inclusion and then troubleshoot. The steps will differ depending on which kind of device you are attempting to add.
And that’s it for integration, now you can use a Z-wave network to control your Smart Home devices, saving on power consumption!